
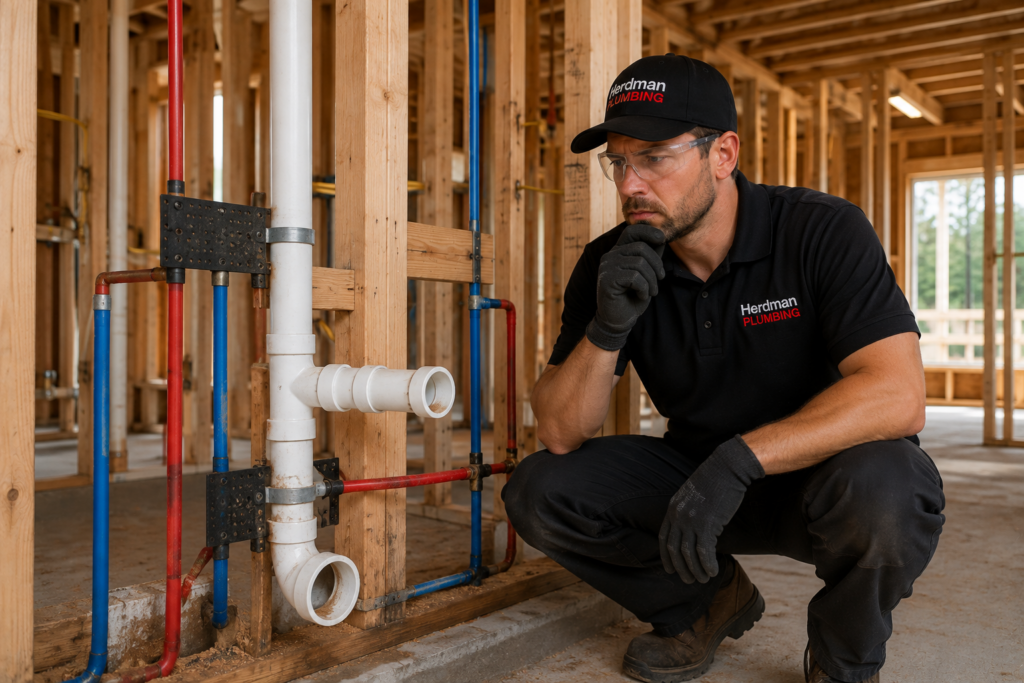
A wall goes up for one reason: to hide what’s behind it. That’s why a rough-in inspection is more important than almost any other part of a build, because it’s the only time anyone can check pipe slope, vent placement, and trap distances before drywall makes it all permanently hidden. Get something wrong here, and it doesn’t surface again until a homeowner is dealing with a slow drain or a sewer smell years later. We built our name at Herdman Plumbing Heating & Cooling on catching these problems before they ever reach that point.
This piece breaks down what inspectors are genuinely checking for at rough-in, the specific code thresholds that trip up even experienced crews, and what a failed inspection sets in motion for the rest of a build. We’ll also walk through a practical rough-in inspection checklist you can use before the inspector ever shows up.
What Is a Rough-In Inspection and Why Does It Matter?
A rough-in inspection happens once plumbing, electrical, and HVAC lines are run through the framing but before any wall is closed. It’s a narrow single window, and once it closes, fixing a mistake means cutting back into work already done.
In Washington, that inspection is based on the Uniform Plumbing Code, adopted statewide as WAC 51-56, instead of the International Plumbing Code used in much of the eastern half of the country. The reason that distinction is important is that trap arm lengths, vent locations, pressure-test limits, etc. are all determined by specific tables in the UPC, not by some general notion of what “looks right.” Getting building code compliance right at this stage is what keeps a system functioning quietly for decades instead of failing behind a wall no one can see.
The Most Common Reasons Rough-In Inspections Fail
Most rough plumbing inspection failures aren’t random. They cluster around the same few measurements, and once you know what they are, they’re easy to catch before an inspector ever does.
Incorrect Pipe Sizing or Installation
Trap arm length is one of the most frequently missed details on a job site. Under UPC Table 1002.2, a 1¼-inch trap arm is limited to 30 inches, while a 4-inch or larger line can run up to 10 feet before it needs a vent. If you run it longer than the table allows, at the standard quarter-inch-per-foot slope, the trap will self-siphon under flow, pulling the water seal right out, and letting sewer gas back into the home.
Vertical distance is just as important. The code allows 30 inches for a clothes washer standpipe, but limits the drop from a fixture outlet to its trap to 24 inches. If you go over either limit, the fixture will not drain properly, regardless of the cleanliness of the rest of the installation.
Cleanouts get overlooked for a different reason entirely. They have to open in the direction of waste flow, not just exist somewhere convenient in the wall, and a cleanout installed backward is a compliance failure even if every other joint in the system is flawless. Mixing things like copper against galvanized steel without using the proper transition fitting creates its own slow-motion problem, with the joint rotting out over years, long after the inspector has left.
Improper Electrical or HVAC Placement
Electrical rough-in inspection failures tend to come from missing cable staples, overfilled boxes, or outlets sitting too close to a plumbing line sharing the same stud bay. HVAC rough-in work gets flagged for kinked flex duct, unsupported runs, or boots left unsealed before the system is even powered on.
These trades do not take place in isolation. Plumbing, electrical, and HVAC are all competing for the same wall cavities and floor joists, and a shortcut in one almost always becomes someone else’s inspection failure. If you coordinate the sequence with the crews, then that gets worked out before it ever gets to the inspector clipboard.
If a trap arm runs even six inches past its code limit, the fixture will self-siphon every single time it’s used; there is no partial pass on this one.
The Hidden Costs of a Failed Rough-In Inspection
A failed rough-in inspection rarely costs just the day it happens on. Once a correction is required, it has to be fixed, documented, and then scheduled for a second visit, and that second visit is not always available right away.
Construction Delays and Scheduling Conflicts
Every day spent waiting on a re-inspection is a day the rest of the construction project timeline sits frozen. Builders often mistakenly believe a quick fix means a quick restart when it comes to how far behind everything downstream can get thrown by a single failed date.
Additional Labor and Rework Costs
Rework is when you pay a crew to do something again that they thought was done, and it usually means reordering material that doesn’t meet the corrected spec. Supervisors spend hours micromanaging the fix rather than advancing the project, and that time is not recovered.
Delayed Progress for Other Trades
Drywall, insulation, and flooring crews are all waiting on rough-in sign-off before they can start their own work. When that sign-off stalls, everything behind plumbing and electrical gets stalled with it. And the longer it sits, the wider the gap tends to get.
Common Misconceptions About Rough-In Inspections
Many builders view rough-in as a formality once the pipe and ductwork look finished. In the real world, an inspector is checking pressure tests, trap arm distances, and vent placement against precise code tables, not eyeballing whether the job looks tidy.
Closing up walls early to “save time” creates the opposite outcome. Concealing plumbing rough-in or electrical work before written sign-off gives the inspector grounds to require demolition of finished surfaces just to confirm what’s underneath, and that demolition costs far more time than waiting for approval would have in the first place.
There’s also a belief that one trade failing is an isolated event. In practice, a new construction inspection often reviews plumbing, electrical, and HVAC together, so a single plumbing failure can delay sign-off across every system in that wall cavity.
| What builders assume | What the code actually requires |
| “It’s roughly sloped, that’s close enough” | Trap arm length and slope are fixed by pipe diameter, per UPC Table 1002.2 |
| “We’ll close the wall and fix it if flagged” | Concealed work without sign-off can be ordered demolished for inspection |
| “One trade’s issue won’t affect the rest” | Plumbing, electrical, and HVAC are often reviewed together at rough-in |
How to Improve Your Chances of Passing the First Inspection
Passing on the first attempt comes down to catching what the inspector will catch before they arrive. Most issues are fixable when they are cheap and easy to fix with a full internal walkthrough a few days before the scheduled visit.
A rough-in inspection checklist worth running before every visit:
- Confirm trap arm lengths and slope against pipe diameter, not estimation.
- Verify vertical fixture-to-trap distance stays within code limits.
- Check every cleanout opens in the direction of waste flow.
- Confirm dissimilar pipe materials use proper transition fittings.
- Pressure-test water supply lines to the required psi and hold time.
- Walk electrical and HVAC rough-ins for shared-cavity conflicts.
- Leave all work exposed and fully accessible for the inspector.
What separates builds that succeed the first time from builds that don’t is that this walkthrough is standard practice, not an extra step.
Preventive Practices That Keep Construction Projects on Schedule
By scheduling inspection dates with a built-in buffer, rather than back-to-back with the next trade, small issues can be corrected without causing a chain reaction through the schedule. Most conflicts on paper are resolved long before they turn into a failed inspection in the field with clear communication between crews sharing the same wall cavities.
Homeowners and builders across Silverdale, Bremerton, Gig Harbor, Bainbridge Island, and the wider Kitsap Peninsula have learned that the plumbing partner they choose for rough plumbing installation shapes how smoothly this entire stage goes. A crew that documents its own work thoroughly makes the inspector’s job faster and the whole process considerably less stressful.
Getting Rough-In Right the First Time
A failed rough-in inspection costs more than the correction itself. It costs the schedule, the coordination between trades, and the confidence everyone on the project had going in. It’s one of the few places on a build that careful work up front prevents a much larger problem later. Getting trap distances, slope, and vent placement right the first time.
We’ve built our process at Herdman Plumbing Heating & Cooling around exactly this. From accurate plumbing rough-in work to full compliance with Washington’s adopted plumbing code, our team treats this stage with the precision it demands, because we know what’s riding on it once the walls close.
If you’re planning a new build or remodel and want a plumbing team that takes rough-in seriously from day one, reach out to us directly. Call us at 360-698-4147 to talk through your project with our team.